Have you ever thought about how to get internet up in the trees? I’m talking about the “Starlink Tree Mount” your new solution for staying connected in the most remote spots. Imagine surfing the net while surrounded by nature! But hold on, safety first. Let’s get into how you install this high-tech gadget without a hitch.
When it comes to installing a Starlink Tree Mount, I keep things careful and straightforward. First, find a sturdy tree with a clear view of the sky. Then, securely attach the mount to avoid any wobbling – no one wants their satellite connection dropping! Lastly, set up the Starlink dish firmly atop and prepare for blazing-fast internet among the trees. It’s all about having that steady hand and an eye for both safety and signal strength.
How does the Starlink Tree Mount operate?
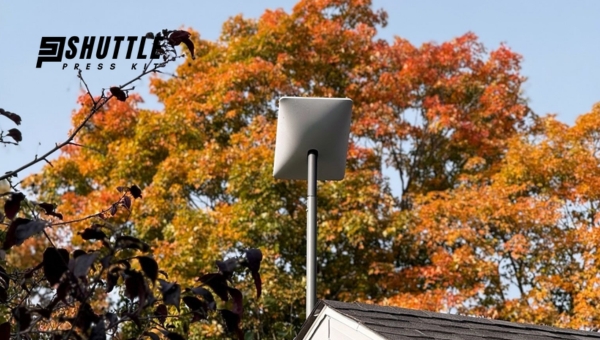
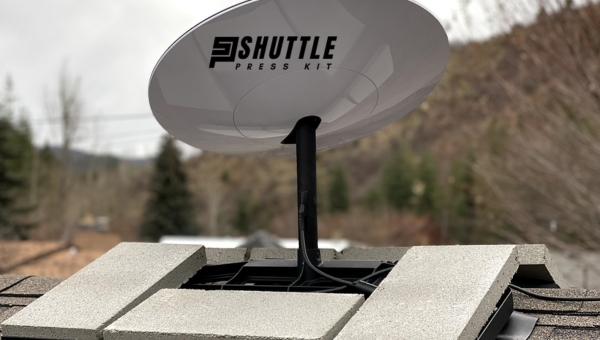
The Starlink Tree Mount is ingeniously designed to attach the Starlink satellite dish onto a tree, ensuring that users in remote or difficult-to-reach areas can access high-speed internet.
By mounting the dish at an elevated position on a tree, it secures a direct line of sight to Starlink’s network of satellites orbiting Earth. This unobstructed connection is crucial for the seamless transmission and reception of data, enabling consistent and high-quality internet service.
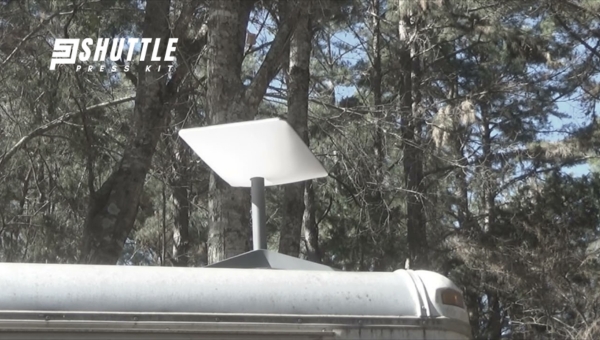
This mounting solution is particularly beneficial as it leverages natural elevation to avoid physical barriers that might disrupt signal strength, such as buildings or uneven land. Moreover, its design carefully considers the health of the tree, avoiding significant harm and thereby aligning with eco-friendly practices.
Through this approach, Starlink extends its connectivity reach while promoting environmental stewardship, ensuring that more individuals across diverse landscapes can enjoy reliable internet access without contributing negatively to their surroundings.
Also Read: Low Capacity vs High Capacity Starlink: Optimize Your Choices
Guide to Installing Starlink on a Tree
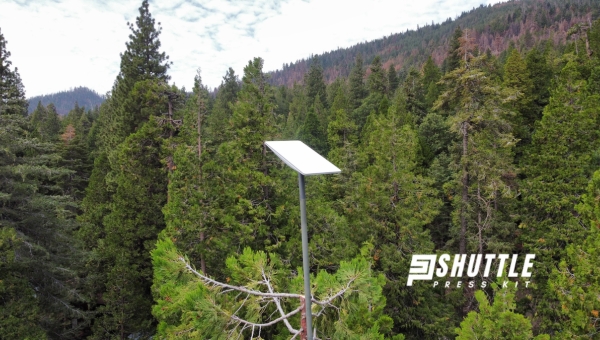
Mounting Starlink on a tree can be an innovative way to ensure optimal signal reception, especially in locations where standard ground or rooftop installations are not viable due to obstructions.
This process requires careful consideration of the tree’s health and stability, alongside proper planning and execution to avoid damage. Below is the step-by-step guide for installing your Starlink dish onto a tree:
- Evaluate the Tree: Start with assessing the tree’s condition and location. Ensure it is healthy, stable, and situated such that it offers a clear line of sight towards the sky with minimal obstructions for the signal path.
- Collect Necessary Tools: Prepare all required materials beforehand. This includes your Starlink kit, straps designed for trees (to prevent bark damage), standard installation tools, and protective gear for safety.
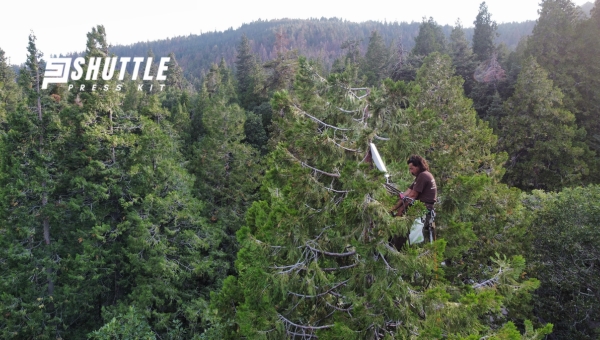
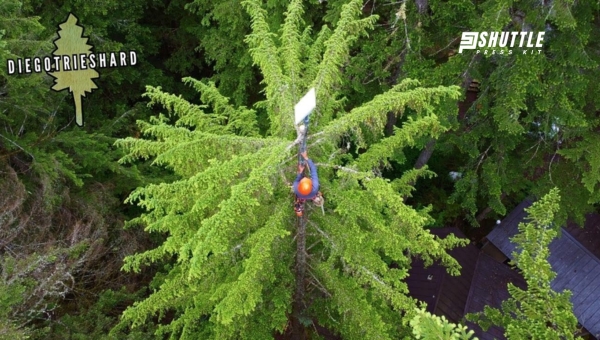
- Prepare Installation Site: Climb the tree safely to identify an ideal mount point. The goal here is to find a spot where the dish can be secured firmly while also maintaining both stability and level orientation.
- Secure Mount Bracket: Utilize tree-friendly straps included in your kit or provided by yourself to securely fasten the mount bracket around the chosen part of the tree. Double-check that it holds tightly without harming the bark.
- Mounting Dish: Position your Starlink dish onto the secured bracket ensuring it has an unobstructed view of its associated satellite’s path across the sky.
- Cable Management: Carefully route cables down from dish placement to their connecting point inside your home or office while maintaining a tidy layout along branches or trunk using appropriate clips or ties which minimize wear on both cables and tree alike.
- Test Connectivity: After all physical setup steps are completed, connect power and start up your Starlink system before conducting tests through its interface or an app provided by Starlink to ensure you’re achieving expected internet speeds and connection stability.
Finalize by applying weatherproofing treatment around connectors or any exposed areas of wiring as well as performing a thorough checkup around installation sites both at equipment level on branches/trunk as well as foundation root zones impacted during cable routing phases ensuring there haven’t been disruptions conducive toward immediate or prolongable integrity risks toward tested trees structural health over time.
Also Read: Starlink Cable Routing Kit: Easy Install Guide!
Proper Installation of Tree Mounts for Environmental Durability
Ensuring the correct alignment of Tree Mounts, such as those used with Starlink systems, is vital in maintaining a stable and uninterrupted internet connection under adverse weather conditions.
A precise installation process focuses on optimizing the mount’s angle to firmly secure its position, especially when faced with strong winds. This optimization ensures that the device maintains an unobstructed line of sight to satellites in orbit, thereby minimizing potential signal interference and enhancing system reliability.
Moreover, anchoring the mount securely to a sturdy part of the tree plays a crucial role in countering the effects of wind-induced vibrations. By doing so, it prevents any misalignment or swaying movement that could compromise connectivity.
The strategic placement and solid fixation contribute greatly to sustaining an efficient and resilient internet service through varying weather scenarios, ensuring users experience fewer disruptions.
Tree-Mounted Satellite Installation Services
Tree-Mounted Satellite Installation Services specialize in securely attaching satellite systems like Starlink to trees. This unique approach blends technology seamlessly with nature, ensuring high-speed internet access while respecting and preserving the environment.
Expert services provided by professionals include thorough site assessment, safe installation practices, and ongoing support, all tailored to enhance your satellite internet experience without harming the natural landscape.
- Expert Site Evaluation: A comprehensive inspection of potential installation sites is conducted to identify the most suitable trees based on health, stability, and location.
- Environmentally Friendly Materials: Only use materials that minimize harm to trees and ensure durability against weather conditions.
- Safe Mounting Practices: Utilize professional techniques for climbing and installing equipment safely on selected trees.
- Precision in Equipment Alignment: Ensure optimal alignment of the satellite dish for the best possible signal reception.
- Maintenance Plan: Offer scheduled maintenance checks to preserve system integrity and performance over time.
By leveraging Tree-Mounted Satellite Installation Services, you can enjoy advanced internet connectivity that harmonizes with your living environment.
Ensuring Weatherproofing and Durability in Starlink Tree Mount
Starlink Tree Mount installations are engineered with a focus on durability and weather resistance to maintain stable internet connectivity across diverse environmental conditions.
To protect delicate electronics from harsh weather elements such as rain, snow, and extreme temperatures, specialized measures are taken. Here’s how Starlink ensures that its tree mounts stand firm against the challenges posed by outdoor exposure:
- Utilization of Weatherproof Covers: To safeguard the equipment from moisture infiltration, high-quality covers designed to repel water and resist snow accumulation are used. These covers also help mitigate damage from ultraviolet (UV) rays.
- Construction with Robust Materials: The mounts are constructed from durable materials like UV-resistant polymers and corrosion-resistant metals. This choice of materials ensures a long service life even in environments subject to significant wear and tear.
- Sealing Techniques for Moisture Protection: Proper sealing methods coupled with waterproof connectors are employed to prevent any water intrusion. This is vital for protecting internal components that are sensitive to moisture.
- Rigorous Testing Regimens: Before deployment, the tree mounts undergo extensive testing under various environmental conditions. These tests aim to replicate severe weather scenarios ensuring that each unit can withstand prolonged exposure without failure.
By integrating these features into their tree mount installations, Starlink guarantees reliable performance regardless of weather conditions, ensuring users have consistent access to high-speed internet service.
Also Read: Starlink App Support Section’s Overhaul: A User-Friendly Refresh
Frequently Asked Questions
Can I install Starlink Tree Mount by myself?
Yes, you can self-install the Tree Mount, but ensure you follow all safety guidelines provided by Starlink to prevent accidents or damage.
What tools do I need for installing the Starlink Tree Mount?
Basic hand tools are required for installation, including a ladder for reaching higher points safely. Check the installation guide for any specific tool recommendations.
Is it safe to install the Tree Mount in any tree?
Select a sturdy and healthy tree that can support the mount and dish without risk of falling. Avoid trees that sway excessively or show signs of decay.
How do I ensure my Starlink dish has a clear view of the sky when mounted on a tree?
Position your dish at a point on the tree where branches do not obstruct its line of sight to the sky, considering future growth and leaf coverage.
Conclusion
Choosing the Starlink Tree Mount installation brings a revolution to your connectivity woes, effortlessly merging technology with nature. This process not only ensures you enjoy high-speed internet in the most remote locales but also highlights the importance of integrating advanced technologies with environmental consciousness.
The safety protocols associated with the installation process guarantee that both your property and the equipment stay secure, mitigating any potential for damage. As we embrace this innovative solution, it’s pivotal to understand both its benefits and responsibilities.