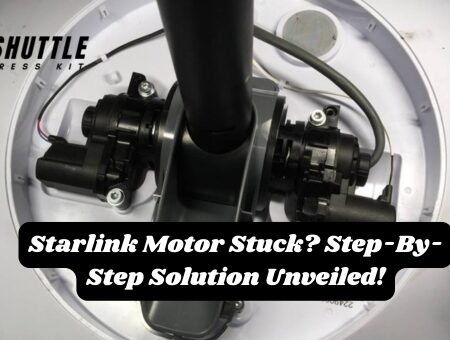
Ever found yourself staring at your Starlink dish, utterly baffled and whispering, “Why is my Starlink motor stuck?” You’re not alone. We’ve all been there, frustrated with tech glitches that seem to pick the worst times to crop up. But worry not – I’m here to guide you through this common hiccup with your eyes wide open, ready for a simple fix.
Fixing a stuck Starlink motor doesn’t have to be rocket science. The first step is to power down your setup completely – yes, I mean turn off everything. Give it a few minutes as taking a breather often helps more than just humans. Turn everything back on and check if the issue persists. If it does, then gently nudging the dish or checking for any obstructions might just be the trick you need. Remember, patience is key – rushing might lead you back to square one!
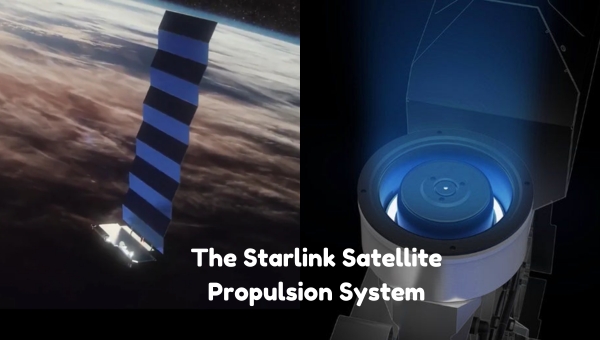
The Starlink Satellite Propulsion System
The propulsion system embedded within Starlink satellites is crucial for a multitude of operational tasks that are fundamental to delivering global internet coverage. This advanced motor system allows satellites to maneuver in space, ensuring optimal performance and continuous service delivery, even in the most remote or traditionally underserved areas. Here’s a succinct overview of its key functionalities:
- Precise Orbital Placement: Enables satellites to achieve and maintain specific orbits, ensuring comprehensive and consistent internet coverage worldwide.
- Dynamic Position Adjustment: Facilitates smooth repositioning of satellites to optimize network capacity and coverage based on real-time demands.
- Weather Resistance: Designed to operate effectively despite extreme weather conditions—be it scorching heat, chilling cold, or torrential rain—maintaining reliable service.
- Contribution to Reducing Digital Divide: By providing high-speed internet access across geographically diverse locations, the system plays a pivotal role in bridging the gap between connected urban environments and underserved rural communities.
The propulsion mechanism of Starlink satellites thereby stands as a cornerstone technology in SpaceX’s endeavor to envelop the globe with reliable, swift internet access.
Also Read: How to Contact Starlink Customer Support? – Quick Guide
What Causes It?
Several factors can lead to the occurrence of the motors stuck error with a Starlink dish. One primary reason is physical obstructions that hinder the dish’s ability to move freely. This often happens when the dish is installed too close to surfaces like walls or roofs, which block its rotation or tilting mechanisms. Additionally, incorrect installation locations such as overly steep surfaces can impede the dish’s movement capabilities.
Another notable cause is environmental impacts, like strong winds causing the dish to tip over – a scenario common when the base provided isn’t securely mounted. An improper angle placement of more than 5 degrees from vertical during installation could also restrict its operational range, preventing accurate positioning for optimal functionality. Starlink offers various mounting options designed to avoid these issues by ensuring a secure and correctly angled setup.
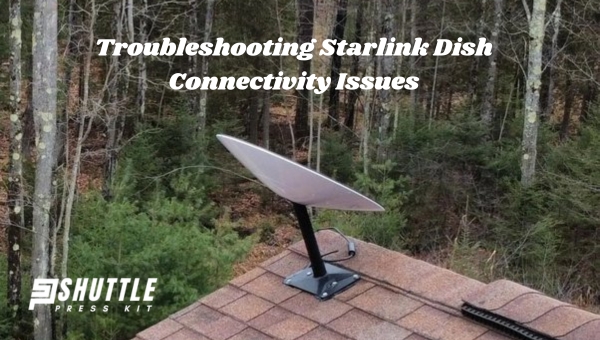
Troubleshooting Starlink Dish Connectivity Issues
When experiencing difficulties with your Starlink internet service, such as connection drops or poor performance, there are several straightforward steps you can undertake to diagnose and potentially resolve the issue. Addressing common problems at home before reaching out for additional support can save time and effort. Here’s a concise guide with troubleshooting actions:
- Check Dish Placement: Ensure the dish is securely mounted and has not shifted from its optimal position. Remove any obstructions that could block the dish’s view of the sky such as debris, branches, or snow.
- Inspect for Physical Obstructions: Verify there’s nothing interfering with the dish’s ability to move freely. Look for any new obstacles that weren’t present during installation, like newly grown tree branches.
- Mast Alignment Verification: Confirm that the mast holding your dish is almost perfectly vertical (within a 5-degree margin). If mounting on a slope was unavoidable due to roof pitch, consider alternative mounting solutions that ensure vertical alignment.
- Restart Your Starlink System: Unplug the power cord from your Starlink device. Wait at least one minute before plugging it back in to allow for a proper reset. Allow approximately fifteen minutes for your system to reboot completely. Afterwards, use the mobile app or check the connectivity status through your device to see if issues persist.
By following these steps, many connectivity problems can be resolved quickly without needing additional help. If issues continue even after these attempts at troubleshooting, further assistance from Starlink support may be needed.
Preventive Strategies for Avoiding Motor Complications
To ensure the smooth operation and extended lifespan of motorized devices like satellite dishes, it’s critical to proactively manage environmental and operational factors. By implementing certain preventive strategies, complications such as mechanical failures and inefficiencies can be substantially reduced. Below are essential steps to help maintain the optimal performance of such motors:

- Ensure Clear Installation Area: Position the dish in a location free from physical obstructions, both on the ground and in terms of overhead blockages. This allows for an unobstructed view of the sky which is crucial for maintaining a stable connection with satellites.
- Regular Inspections: Conduct routine checks to ensure that no debris accumulates around or on your equipment which could hinder its functionality or mobility.
- Check Alignment and Posture: Regularly verify that motorized parts are not misaligned or excessively tilted as this can place undue strain on the machinery leading to potential failures down the line.
- Software Updates: Keep your device’s firmware up-to-date with the latest releases from manufacturers. These updates can enhance performance, extend motor life, and resolve previously known bugs impacting your equipment.
By embracing these strategies, users can significantly increase efficiency while minimizing disruption due to mechanical breakdowns within their motorized equipment setups.
Also Read: Starlink Offer Phone Service? Discover Now!
What to do if Starlink motor is stuck?
Ensure the dish area is clear from obstruction, check for and remove any debris, ensure it’s not misaligned or tilted improperly, and consider the warranty for a replacement if troubleshooting fails.
Can Starlink be jammed?
Yes, like any satellite communication system, Starlink can potentially be jammed through signal interference either unintentionally or through deliberate actions.
How do I fix my Starlink speed?
A good speed for Starlink typically ranges from 100 Mbps to 200 Mbps download speeds, which is suitable for streaming, gaming, and high-bandwidth applications.
What is a good speed for Starlink?
A good speed for Starlink typically ranges from 100 Mbps to 200 Mbps download speeds, which is suitable for streaming, gaming, and high-bandwidth applications.
Also Read: Starlink Volcano Mount Guide: Easy DIY Installation Tips
Conclusion
Addressing a stuck motor issue in a Starlink system involves a series of diagnostic and corrective steps. The resolution pathway should begin with basic troubleshooting, including power cycling the device and checking for any physical obstructions. If these steps do not yield success, software updates and a deeper examination of the hardware components may be necessary.
For those uncomfortable with delving into more technical solutions, contacting Starlink’s customer support is essential. Drawing from the community’s collective knowledge can also unearth common pitfalls and innovative solutions.