Are you considering getting faster internet with Starlink but feeling overwhelmed about setting it up? Don’t worry! I’m here to demystify the process for you in this straightforward Starlink Installation Guide.
With internet speed being a critical part of our lives, who wouldn’t want a smooth, step-by-step guide to ensure they’re connected as quickly and easily as possible?
Setting up your Starlink is simpler than you might think. First, choose a location with a clear view of the sky; this can be on your roof or in an open area in your yard. Next, using the mount provided in your kit, secure the dish firmly.
Then connect the cables from the dish to your power supply and router. Lastly, download the Starlink app to complete setup and adjust your dish’s positioning for optimal signal strength. That’s it – enjoy high-speed internet!
Starlink Installation Costs
Starlink installation involves a one-time equipment cost of $599 for the satellite dish and router, which are designed for self-installation.
However, many users choose to hire professionals for installation due to the complexities of mounting the dish and ensuring optimal connectivity, with labor fees typically ranging from $200 to $750.
In addition to the initial setup costs, users must also consider a monthly service fee of around $120 for internet access.
This pricing structure makes Starlink an appealing option for those in underserved areas lacking traditional broadband services, although the total costs can vary based on installation choices and individual circumstances.
Also Read: Starlink Installer Central Wisconsin: Your Ultimate Guide
Handling Starlink Setup Independently
The self-installation approach by Starlink primarily aims at eliminating the need for extra installation costs and making the setup as seamless as possible for its customers.
Detailed instructions are provided to guide users through each step of the process – from dish placement optimization to connecting the hardware.
This DIY model effectively reduces initial setup costs and allows users to get their internet service up and running without waiting for a professional installer’s schedule to clear up.
However, should you encounter difficulties or require specialized installation due to unique property challenges, hiring a technician could introduce an external cost not covered by Starlink itself.
Also Read: Amazon’s Project Kuiper vs Starlink: Showdown Unpacked
How Does Starlink Installation Work?
Starlink provides an accessible installation process designed for ease and efficiency straight out of the box. After acquiring your Starlink kit, you’re guided to utilize the dedicated Starlink app.
This app is crucial in aiding customers to find an optimal location with a clear line of sight to the sky, which is essential for maximizing signal strength and ensuring quality service. This step is fundamental in preparing for the setup of your equipment.
Following location selection, users embark on setting up their antenna—a process simplified by Starlink’s user-friendly design.
The assembly and connection of equipment are made straightforward, minimizing complexity and making it manageable even for those not technologically savvy. While the entire setup is straightforward, potential challenges may arise when securing your dish in elevated or difficult-to-access areas such as rooftops.
However, these hurdles are generally minor compared to the overall ease of installation that Starlink offers its users.
Also Read: Starlink Price Revealed: Affordable Internet for Everyone!
Installing Your Starlink Internet System
Setting up your Starlink Internet involves a series of straightforward steps to ensure you receive the best possible connection from SpaceX’s satellite constellation. The process emphasizes finding an optimal location for the dish to guarantee clear, uninterrupted service.
Let’s break down the essential steps from unboxing your kit to going online:
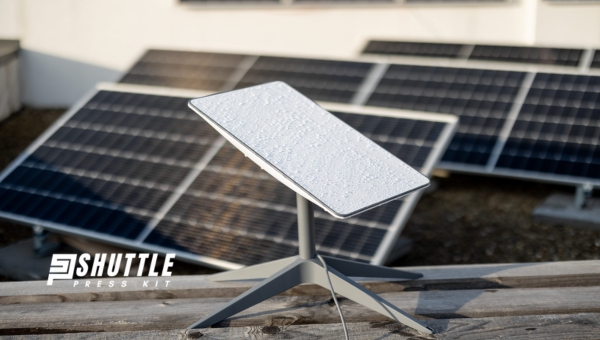
- Unpack Your Kit: Begin by opening your Starlink package. Inside, you should find the satellite dish (often referred to as Dishy), a stand, a Wi-Fi router, and the necessary power cables and adapters.
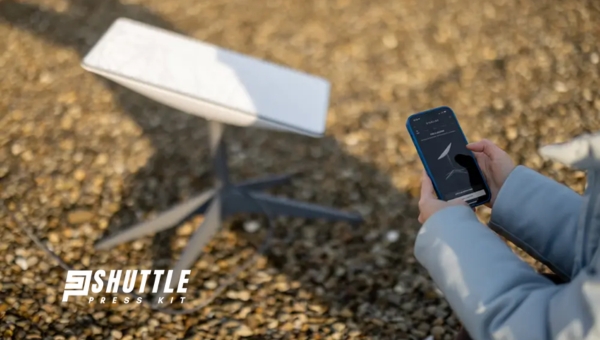
- Download the Starlink App: Use your smartphone to download and install the official Starlink mobile application available on both iOS and Android platforms. This app will guide you through most of the setup process, particularly in locating an ideal spot for Dishy.
- Assemble Dishy: Connect the satellite dish to its stand. This usually involves aligning and securing it onto the base – follow any included diagrams or app instructions closely. Make sure that all connections are snug.
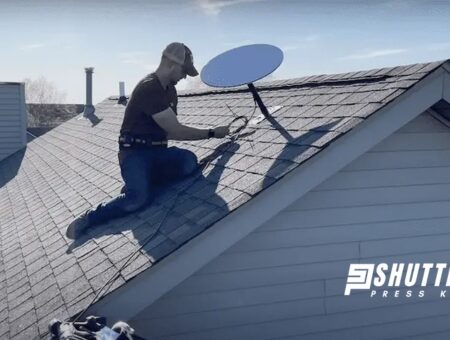
- Locate an Optimal Setup Area: With assistance from the Starlink app’s augmented reality feature, identify a spot with minimal obstacles between Dishy and the sky. The clearer this path, the better your internet connection will be. Roof mounts or open yards are preferable locations.
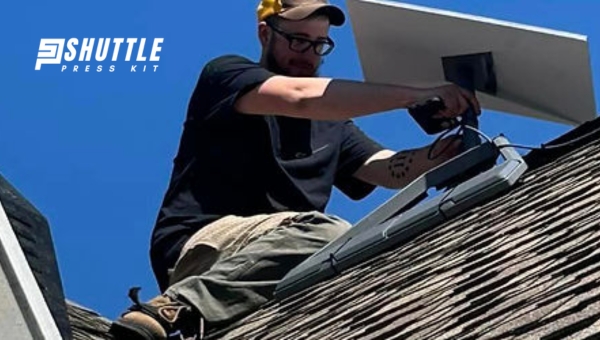
- Secure Dishy in Place: Position Dishy based on your findings from using the app. If ground-level obstructions are a concern (trees or buildings), consider an elevated installation point such as a rooftop but ensure it is safely secured against weather conditions.
- Connect Cables: Finally, link Dishy directly to its corresponding spots on Wi-Fi router using provided cables — one for power supply and another connecting it to its base for signal transfer.
By following these outlined steps diligently, you’ll enable strong and stable internet connectivity through SpaceX’s advanced network of satellites surrounding our planet.
Optimal Placement for Your Starlink Dish
Identifying the perfect spot for your Starlink dish is paramount to ensure optimal internet connectivity. The key aspect to consider is ensuring that the dish has a clear, unobstructed view of the sky.
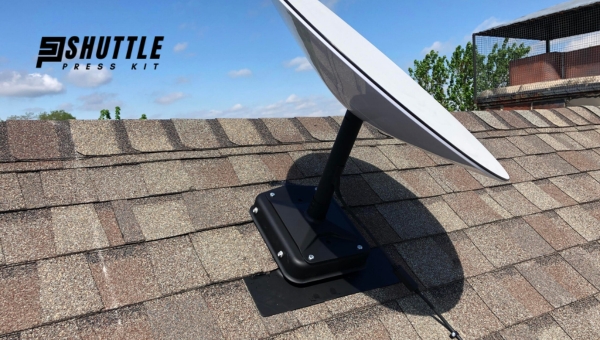
Generally, the apex of your home’s roof tends to be an ideal location, offering elevation and minimal obstructions. There are numerous mounting options available specifically designed for secure roof installation.
Notably, in the Northern Hemisphere, it’s recommended that the Starlink dish faces north for the best signal reception.
Moreover, leveraging the Starlink app’s visibility feature can greatly assist in selecting an appropriate location. This tool guides users through a simple process where you move your phone around a potential setup area to check for signal obstructions.
Additionally, think about how you’ll route the dish’s cable into your home since it needs to connect directly to your router. With cables available in lengths of 75 and 150 feet, planning your installation site relative to where you’ll set up your router inside is crucial for a smooth setup process.
Also Read: How to Contact Starlink Customer Support? – Quick Guide
Can I install Starlink myself?
Yes, Starlink is designed for easy self-installation, providing you with all necessary tools and a straightforward app guide.
Where should I place my Starlink dish for the best signal?
Position the dish in an area with a clear view of the sky, away from obstructions like trees and buildings for optimal performance.
Will bad weather affect my Starlink connection?
Yes, extreme weather conditions like heavy rain or snow can impact the connection quality, though the system is built to mitigate this as much as possible.
What if I need to move my Starlink to a new location?
You can relocate your Starlink setup, but ensure to check service availability and update your location via the Starlink app to maintain optimal performance.
Also Read: How to Reboot Your Starlink Internet? – Quick Fixes & Tips
Conclusion
Installing Starlink offers an unparalleled internet experience, especially in locations where traditional high-speed internet has been inaccessible. Embracing this innovative solution opens a gateway to high-speed, reliable internet, bridging the digital divide for remote and underserved communities worldwide.
As technology progresses, Starlink’s role in global connectivity is poised to expand, marking a significant milestone in how we access and utilize the internet.