Ever found yourself scratching your head over setting up your internet? Worry not, because I’ve got the perfect Viasat Installation Guide to walk you through the process.
With more and more of us depending on the internet for work, entertainment, and staying connected with loved ones, getting it right from the get-go is crucial. And who wouldn’t want to avoid those pesky setup hiccups?
How Viasat Installation Works?
Installing Viasat Internet can be managed either through a professional technician or by choosing the self-installation option.
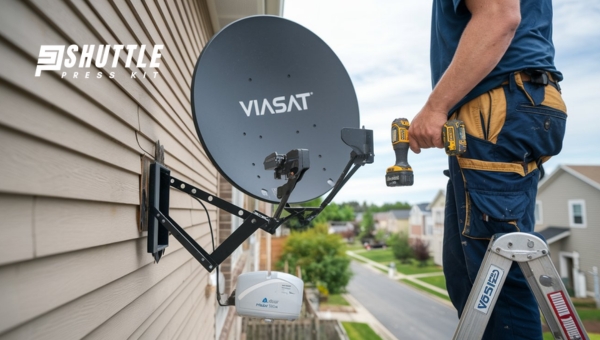
Professional Installation Process
A technician arrives at the scheduled time and identifies the optimal location for the dish, which ensures the best signal.
They mount the dish on a wall, roof, or stand. The technician then runs a cable from the dish to the modem inside the home. Once connected, they test the system to ensure it’s operational. This process typically takes around 2-3 hours.
Self-Installation Option
For those preferring a do-it-yourself approach, Viasat offers a self-installation kit. This kit includes the dish, a modem, cables, and a detailed guide.
After assembling the dish, point it to the southern sky. The provided app helps with alignment. Connect the dish to the modem and follow the setup instructions. Testing the connection ensures the system works properly.
Installation Time Frame
Professional installation usually gets scheduled within 3-5 business days from the service order. The actual installation takes about 2-3 hours.
Self-installation depends on the user’s pace; it generally takes 1-2 hours. In both cases, activating Viasat’s service is immediate once the setup is complete.
Also Read: How to Find Starlink Installers Near Me? [Quick Tips]
Viasat Installation Locations
Proper placement of the Viasat dish ensures optimal performance and a reliable internet connection.

Roof
Placing the dish on the roof provides the clearest line of sight to the satellite. In many cases, this location avoids obstructions like trees, buildings, and other structures.
Always check local regulations or homeowner association rules before proceeding with a rooftop installation. Use a secure mounting system to withstand strong winds and adverse weather conditions.
Yard
Many users choose the yard as an alternative installation location when the roof isn’t suitable. Ensure this spot has a clear view of the southern sky for the dish to communicate effectively with the satellite.
The yard must be free of obstructions such as tall trees or buildings. Securely mount the dish on a stable pole or base to keep it level and prevent movement.
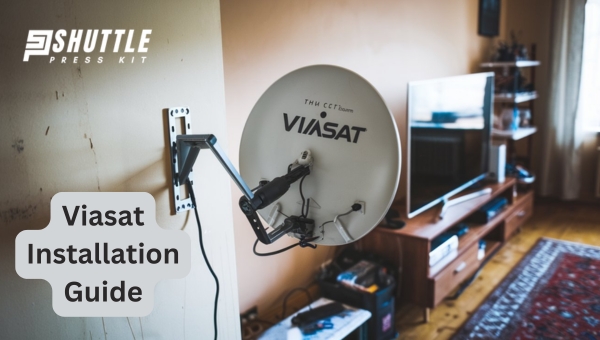
Side of the House
Mounting the dish on the side of the house can be efficient, especially when the roof or yard isn’t an option. Ensure the wall is sturdy and can support the dish’s weight.
This location typically requires fewer materials for the installation, making it quicker to set up. However, ensure no walls, fences, or other structures obstruct the line of sight to the satellite.
Balcony
For those living in apartments or high-rise buildings, the balcony serves as a viable installation location.
Position the dish to face the southern sky and avoid interference from railings or other metallic structures. Use mounting brackets designed for balconies to secure the dish effectively. Check building policies for any restrictions on satellite dish installations.
Temporary Setup
Users needing a temporary internet solution can set up the dish in accessible outdoor areas, like during RV trips or temporary stays. Ensure a clear view of the southern sky and stable mounting. This flexibility makes Viasat practical for short-term use without permanent installations.
Each location option balances practicality and optimal signal strength, enhancing user experience regardless of specific site restrictions or temporary requirements. Choosing the right installation location aligns closely with effective internet performance.
Also Read: 7 Best Satellite Phones – Stay Connected Anywhere
Viasat Installation Equipment Setup
Setting up the Viasat equipment involves several steps to ensure a reliable connection. First, I’ll unpack the installation kit.
It includes a satellite dish, mounting brackets, a modem, power cables, and essential tools. I need to verify that all items are present before starting.
Mounting the Dish
I find the ideal mounting location, preferably on the roof, side of the house, or in the yard, to secure a clear line of sight to the southern sky. I use the provided mounting brackets to attach the dish securely.
If I’m mounting it on the roof, I attach the brackets to the sturdy part of the roof structure. For yard installations, I might need a pole mount, which the kit includes.
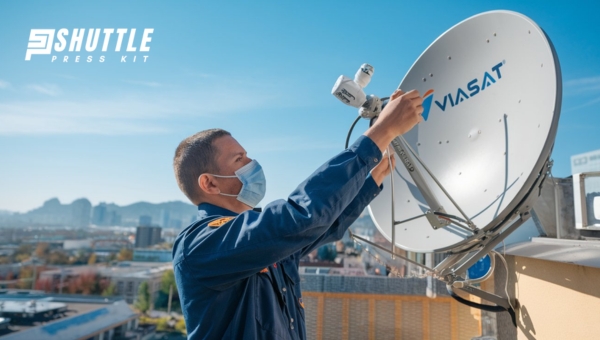
Aligning the Dish
Precise alignment of the dish is crucial. I use the Viasat pointing app to help align the dish accurately.
The app guides me to adjust the azimuth (horizontal direction) and elevation (vertical angle) to ensure optimal signal reception. It usually takes a few minutes to get the best signal quality.
Running the Cable
Next, I connect the coaxial cable from the dish to the modem. The cable must be securely fastened to avoid any signal interference. I run the cable through a weatherproof entry point to prevent any potential damage.
Connecting the Modem
I place the modem in a central location inside the house. Proximity to frequent internet use areas ensures strong Wi-Fi coverage. After connecting the coaxial cable to the modem, I plug in the power adapter. Within a minute, the modem should power up and start initializing.
Testing the Connection
Finally, I verify the connection. I use the app to run a diagnostic test, confirming that the dish points properly and that there’s no interruption in the signal. If there are any issues, the app provides guidance for troubleshooting.
After completing these steps, the Viasat internet should be up and running. If I encounter any problems, there’s always professional support available to assist. Setting up the equipment correctly maximizes internet performance and ensures a stable connection.
Also Read: Starlink Dominican Republic Cost, Speed, Contact Info
Frequently Asked Questions
Can I Self-Install Viasat?
Yes, users can opt for self-installation. Viasat provides a comprehensive kit containing everything needed, including a satellite dish, mounting brackets, a modem, power cables, and essential tools. A detailed guide accompanies the kit. The self-installation process typically takes 1-2 hours and involves assembling the dish, aligning it using the Viasat pointing app, and connecting it to the modem. This option suits those comfortable with DIY tasks.
Will the Satellite Dish Damage My House?
The satellite dish, when installed correctly, does not damage the house. During professional installation, technicians ensure the dish is securely mounted using appropriate brackets and screws suited for the surface type. When choosing self-installation, I should follow the detailed guide provided to avoid improper mounting that could lead to damage. Common installation locations include the roof, yard, side of the house, or balcony, with each option selected for practical and signal considerations.
Do I Need a Phone Line for Viasat?
No, a phone line is not required for Viasat. The service operates via satellite, sending and receiving data directly to and from a satellite in orbit. This satellite technology makes Viasat ideal for remote areas where phone lines might not be available. Installation focuses on the satellite dish and modem, ensuring a straightforward setup process that avoids the complexities of traditional phone line connections.
Also Read: Starlink Tracker: See Satellites In Night Sky Easily!
Conclusion
Installing Viasat internet doesn’t have to be complicated. Whether you choose professional installation or decide to tackle it yourself, the process is straightforward with the right guidance. By carefully selecting the best location for your satellite dish and following the provided instructions, you’ll ensure optimal internet performance.
Remember to use the Viasat pointing app for precise alignment and place your modem in a central location for the best Wi-Fi coverage. If you follow these steps, you’ll be online and enjoying your Viasat service in no time.