Ever struggled with weak internet signals and thought there must be a better way? Imagine looking at your wall, not just as a boundary to your home, but as the key to unlocking consistently strong connectivity.
Enter the magic of Starlink Long Wall Mount Installation! With this nifty tool by your side (or rather on your side… wall), expect leaps and bounds in your internet experience!
The secret sauce to enjoying seamless online surfing lies in a properly installed Starlink dish. And guess what? You don’t need to call in the pros for this task.
With my step-by-step guide, I will walk you through every single aspect – from choosing the right spot on your wall for optimal signals to attaching that shiny dish firmly in place. So roll up those sleeves; it’s time to gear up for some serious DIY action!
Tools and Equipment Required
First things first – make sure you have all the necessary tools at your disposal. For this task, you’ll need:
- Drill: To make pilot holes in the wall for screws.
- Drill bits: Specifically designed for your wall type – whether it’s brick, concrete, or wood.
- Screwdriver: For tightening screws snugly into place.
- Level: To ensure our mount is perfectly horizontal for optimal signal reception.
- Tape measure: Precision is key when placing your mount at an optimal height.
Also Read: Best Aftermarket Wifi Routers For Starlink: Top Picks!
Finding The Ideal Mounting Spot
Choosing where your Starlink dish will call home is critical. Here’s how to nail this down:
- Find a location with minimal obstructions – a clear line of sight towards the sky ensures better signal strength.
- Aim high: Higher positions often provide more unobstructed views of orbit satellites overhead.
When it comes to a Starlink Long Wall Mount Installation, you don’t need any unusual tools. You’ll want to have a drill, some drill bits, and possibly a wrench. Of course, the kit usually comes with the basic bits and pieces you need. Do check the manual because it has all the details on what tools work best.
Step-by-Step Guide to Installing Your Starlink Long Wall Mount
When you decide it’s time to set up your internet gear, knowing how to install your Starlink Long Wall Mount is key. Let’s get into this guide for a smooth installation process.
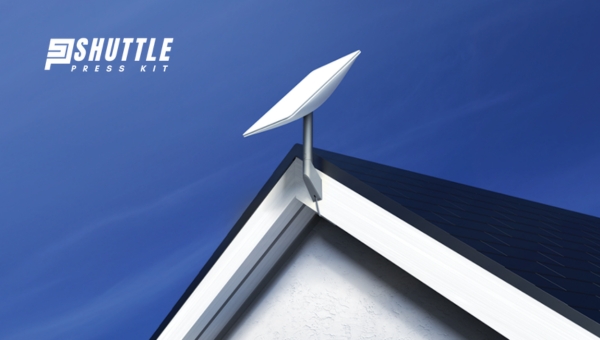
Positioning Your Mount
Your first job is figuring out where on the wall your mount should go. You want a spot high enough and pointed in the right direction, so nothing blocks your signal. Trees, buildings, or any tall things can be a problem—you want to keep those out of the way.
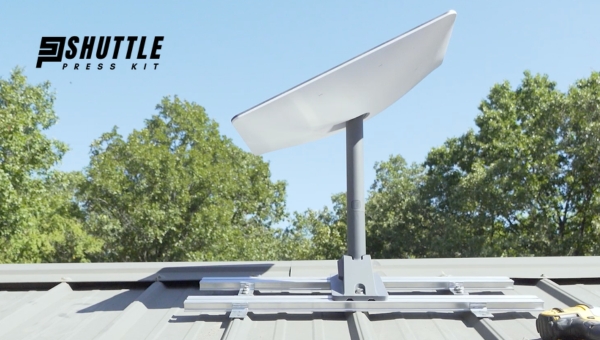
Securing The Mount To The Wall
Once you’ve picked the perfect spot, it’s time to attach your Starlink Long Wall Mount to your wall. This means getting out a drill and making pilot holes—these are like start points that help you screw in bolts without trouble later on. For every kind of wall—be it wood or brick—you want those bolts to be super strong and hold tight.
Attaching The Starlink Dish
Now comes connecting the dish—the part that catches all those internet signals—to what you’ve just fixed up on the wall. Carefully line everything up so it sits straight. And stay safe! Make sure nothing can slip or drop while you’re working high off the ground.
Tips For An Optimal Installation
When you’ve got your Starlink Long Wall Mount installed, you’ll want to make sure it’s set up just right.
To get the best out of it, pay attention to these two key areas: fine-tuning the position and managing the cables smartly.
Adjustments For Max Performance
After you first set up your mount, it may need a little tweaking. So take a step back and look – is the dish pointing just where it needs to? If there are no big things like trees or buildings in its way, you’re on track. Moving it around a touch can mean faster internet.
Cable Management
Keeping cables neat isn’t only about looking good – although that’s important too. Cables should be tucked away safely so they don’t trip anyone or get damaged. Follow your wall’s lines when running them; this keeps things tidy and helps protect them from weather or accidents.
Also Read: Bypass the Starlink Router: Ultimate Easy Steps Guide
Frequently Asked Questions
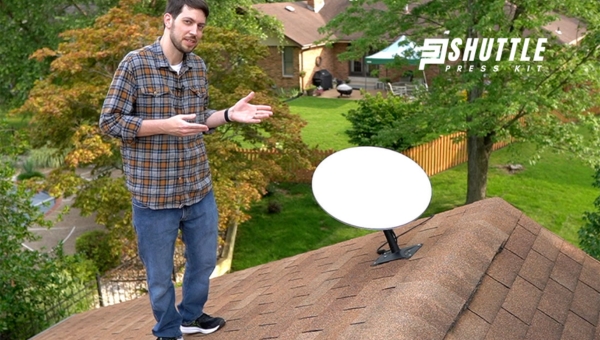
Could I install my StarLink dish by myself or seek professional help?
You might be wondering if you can set up your StarLink dish all by yourself. Well, yes, you can! The instructions are pretty straightforward. But if climbing ladders or drilling into walls isn’t your thing, maybe get someone who knows how to handle tools to help out.
In which direction should I orient my StarLink dish when using a long wall mount
For your StarLink dish to work well on a long wall mount, it must point toward a clear sky without obstructions. Use the Starlink app; it helps figure out where exactly your signal is strongest – that’s where your dish should face.
Could improper installation affect my internet speed or connectivity
Yes, for sure! If your dish isn’t installed right – maybe it’s not pointing in the best direction or isn’t fixed tightly – then raindrops and wind could move it over time. And that means slower internet or even dropouts now and then.
Also Read: How to Rent Starlink? Quick Guide for Seamless Connectivity
Conclusion
Now you’ve reached the final step in setting up your Starlink connection with a long wall mount. It’s not too hard, right? Just take it step by step. Remember to pick the best spot on your wall for a clear view of the sky. The hardware should be tight and secure to withstand wind and weather changes.
After installation, check that your Starlink dish has enough space to move and doesn’t bump into anything as it adjusts to find satellites. I hope this simple guide helped you out, and now you can enjoy fast internet speeds.